Manual: How to do GM Tech 2 clone scanner self test step-by-step
VCI self test
Keypad self test
CANdi self test
RS-232 self test
Follow the instruction in detail…
Part 1: Tech2 VCI self test
Insert the GM card
Connect the adapter and ready for the self test
Go to the main menu and select F4: Tool options
F3: Self test
Exit to continue
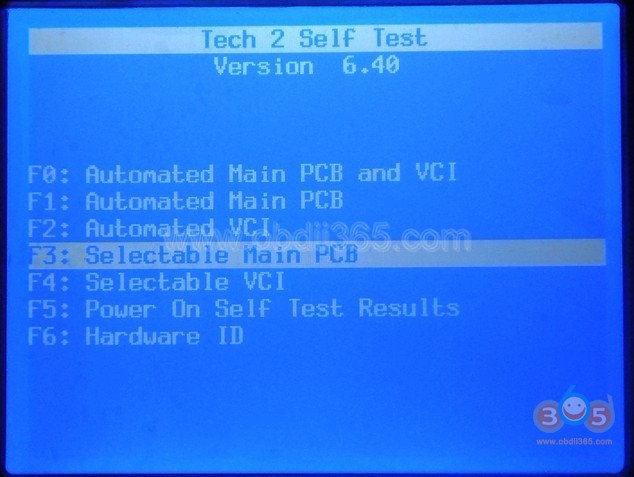
Select the function for self test
Here, press F2: Automated VCI
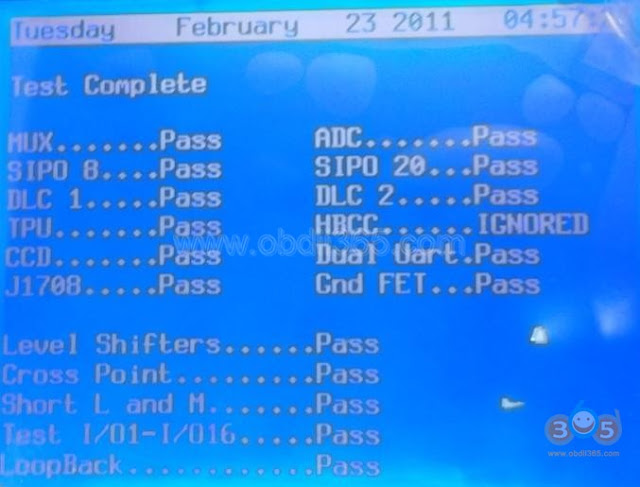
The VCI module self test result
Passed VCI selftest.
Part 2: GM Tech II Keypad self test
Go to the Tech 2 menu and select F4: Tool options
Then F3: Self test
Before running the Tech 2 self test:
(1) Candi cannot be connected
(2) Aldl loopback should be connected (GM3000109)
(3) Failure to follow these instructions may invalidate the self test
(1) Candi cannot be connected
(2) Aldl loopback should be connected (GM3000109)
(3) Failure to follow these instructions may invalidate the self test
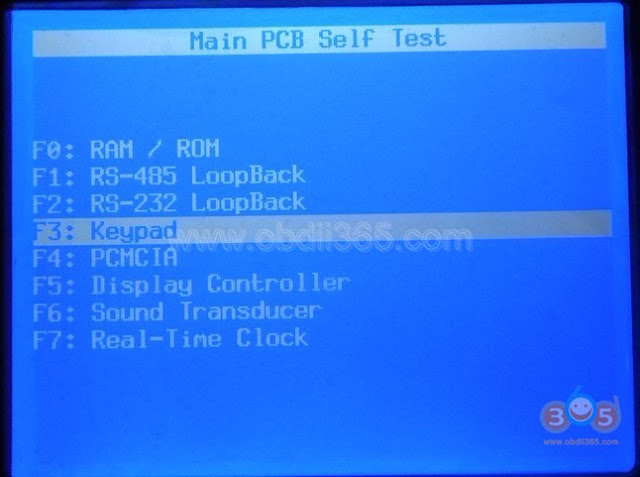
F3: Selectable main pcb
Press Keypad
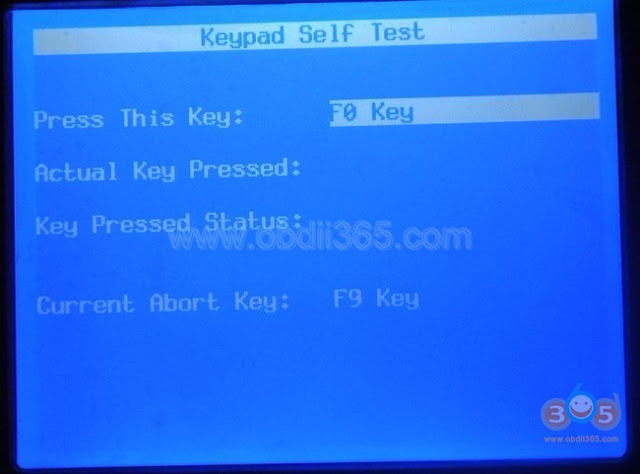
And press key
Note: In the last image, the actual key pressed is F0 and the final result is PASS – that’s normal
When you test the keypad, press F0-F1-F2-F3-F4-F5-F6-F7-F8-F9-EXIT-ENTER-in a good order! DO NOT SKIP ANY ONE.
Part 3: Tech 2 scan tool CANDI module self test
VERY IMPORTANT: Pls make sure of the connection of the OBD adapter, OBD main cable, CANdi module, Tech 2 scan tool and the power supply — ALL should be good
The power should be connected by the OBD port for CANdi self test.
F4: Tool options
F7: CANdi diagnostics
F0: POST result
Test status
F1: Self test
CANdi self test result
Pass selftest
There are two test results for CANdi module.
The one is Figure 8, and the other is Figure 10.
Part 4: GM Tech2 scanner RS232 self test
Check the connection before R232 self test
F4: Tool options
F3: Self test
Exit to continue
F3: Selectable main PCB
F2: Rs-232 loopback
Rs232 test: Passed!
GM Tech 2 scanner tech support from http://www.obdii365.com/


