I purchased a 1996 PCM that was used for short money, my goal was to keep it as a spare for my ’96 LT4 Vette since parts are getting harder to come by.
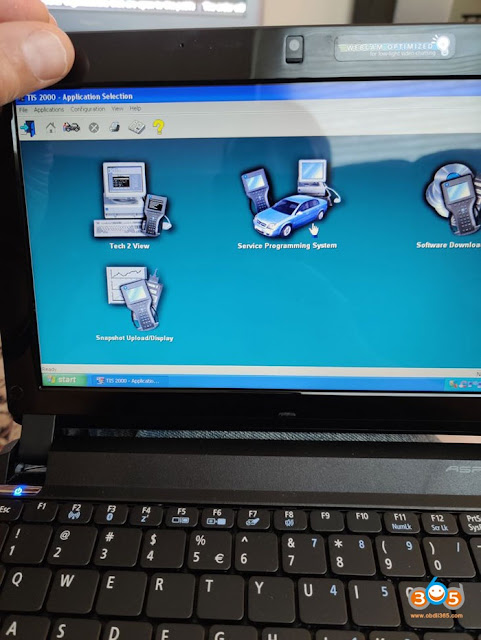
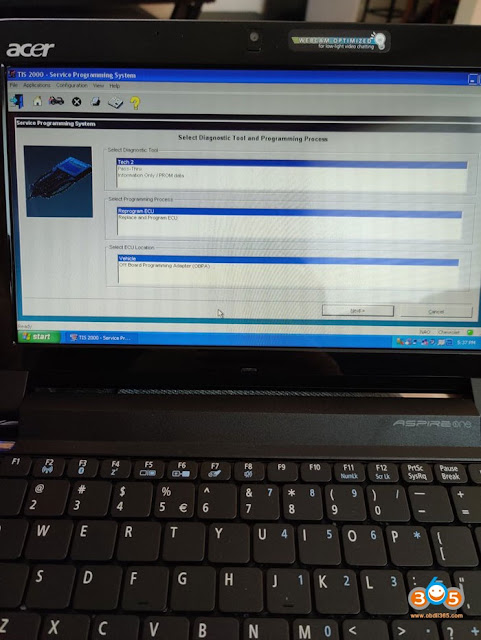
I removed my PCM and installed this used PCM. I took out my GM Tech 2 Clone, opened my Windows XP Netbook that I had previously installed the TIS 2000 software (this software disk came with the Tech 2 Clone). I opened the TIS 2000 application and went to the “Service Program Application” and followed the steps to “Reprogram ECU”.
Now this used PCM obviously had a different VIN. So during the program when it prompted me to see if the VIN was correct I deleted the old VIN and entered in my cars VIN.
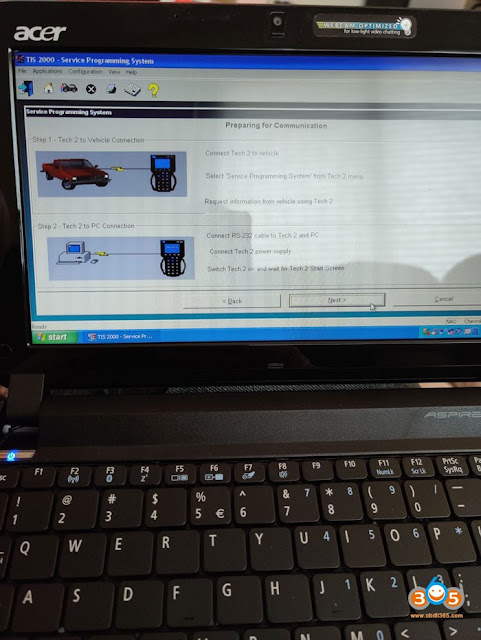
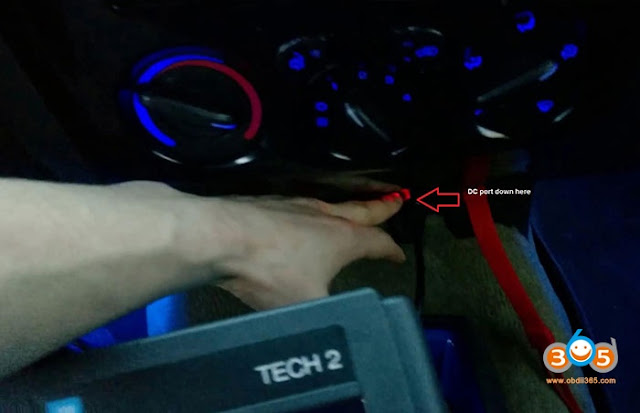
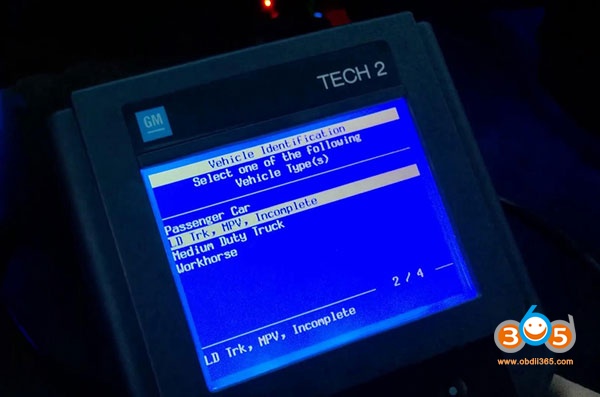
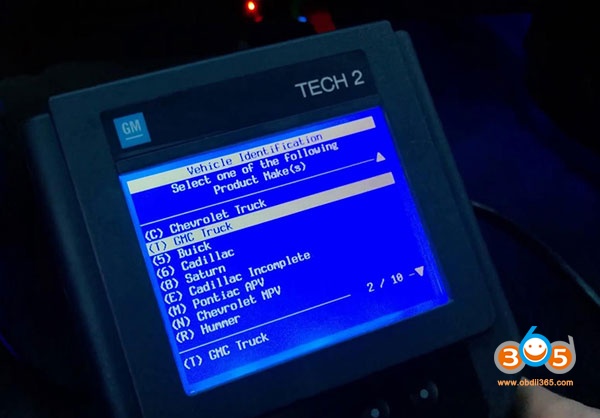
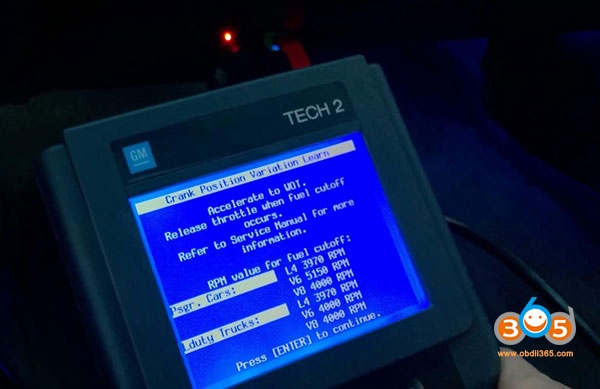
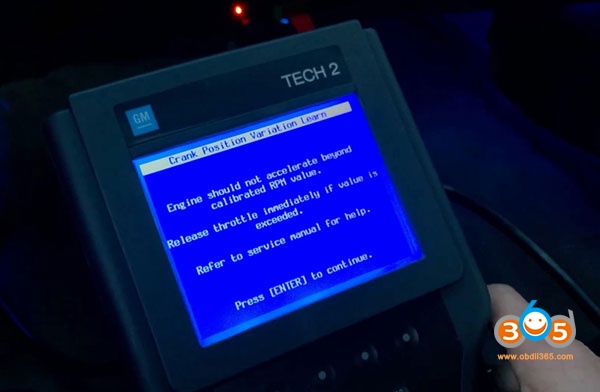
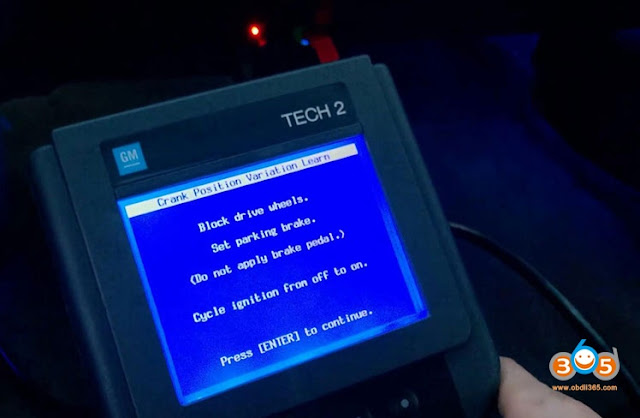
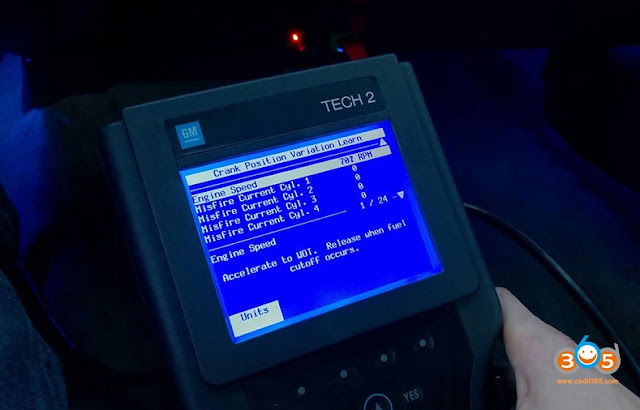
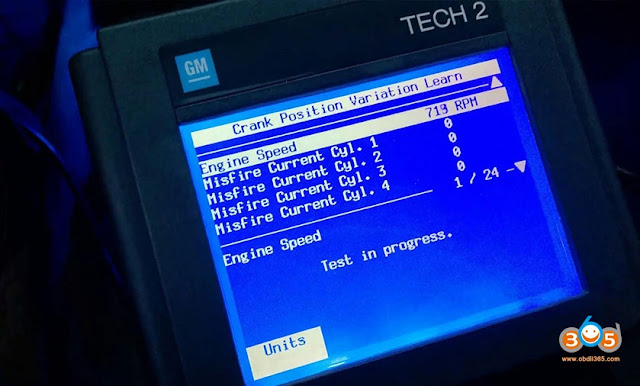
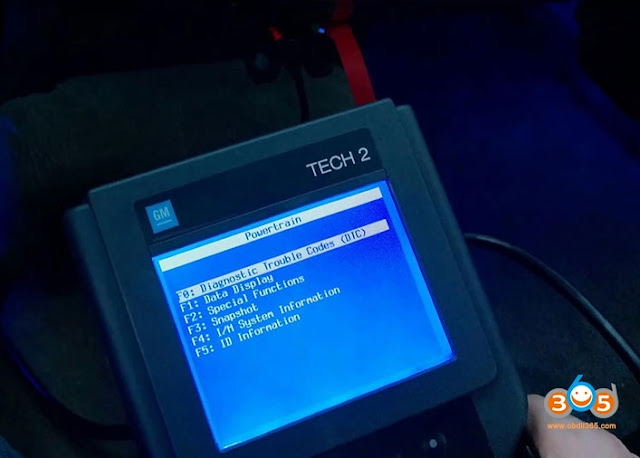
Then I uploaded the program for my VIN into the TECH2 Clone per the prompts, disconnected the Tech 2 Clone from my Netbook and connected my Tech 2 Clone to my OBDII port. I turned the ignition ON without starting the car and selected “Service Programming System” followed the prompts and watched the TECH 2 Clone load my VIN programming for my car.
It worked great, in fact I bought a second 1996 PCM for $150.00 and performed the same procedure and that one worked just as well!
After I used my JET DST to upload my Tune for my engine into the PCMs. The Tech II will obviously only install the factory calibrations. Now I have two spares in case my original fails.
Hope this information is helpful.
TIS2000 Application
Here is where you select Reprogram ECU.
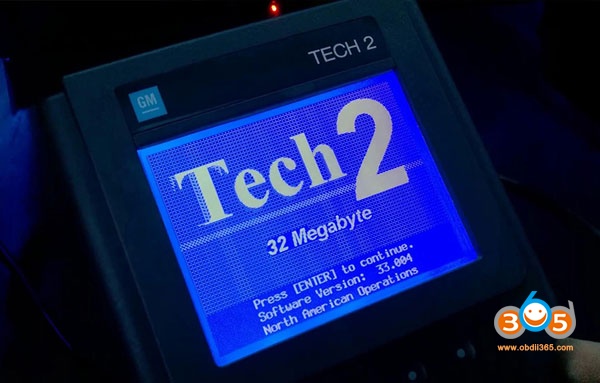
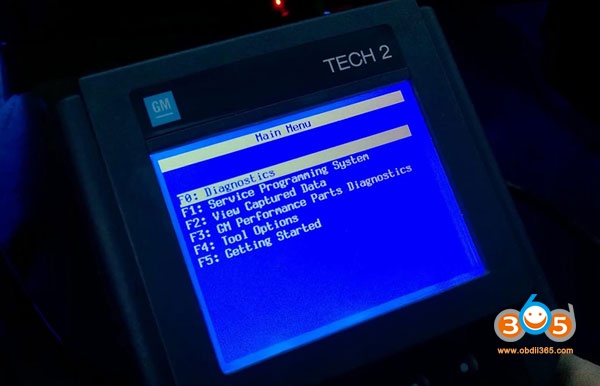
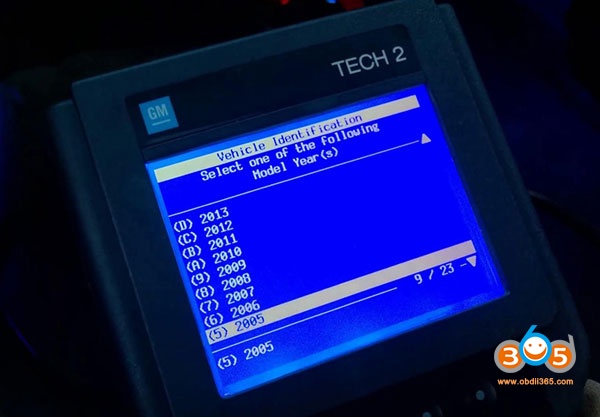
These are the prompts for the Tech 2 setup.
First I only have a 1996 with the OBD II, this is all I could experiment with so I can’t check other years.
I think it can also work on the 94, 95 model years as well, but I could be wrong.
The TIS 2000 software comes with the Tech 2 scanner.
I think it can also work on the 94, 95 model years as well, but I could be wrong.
The TIS 2000 software comes with the Tech 2 scanner.

